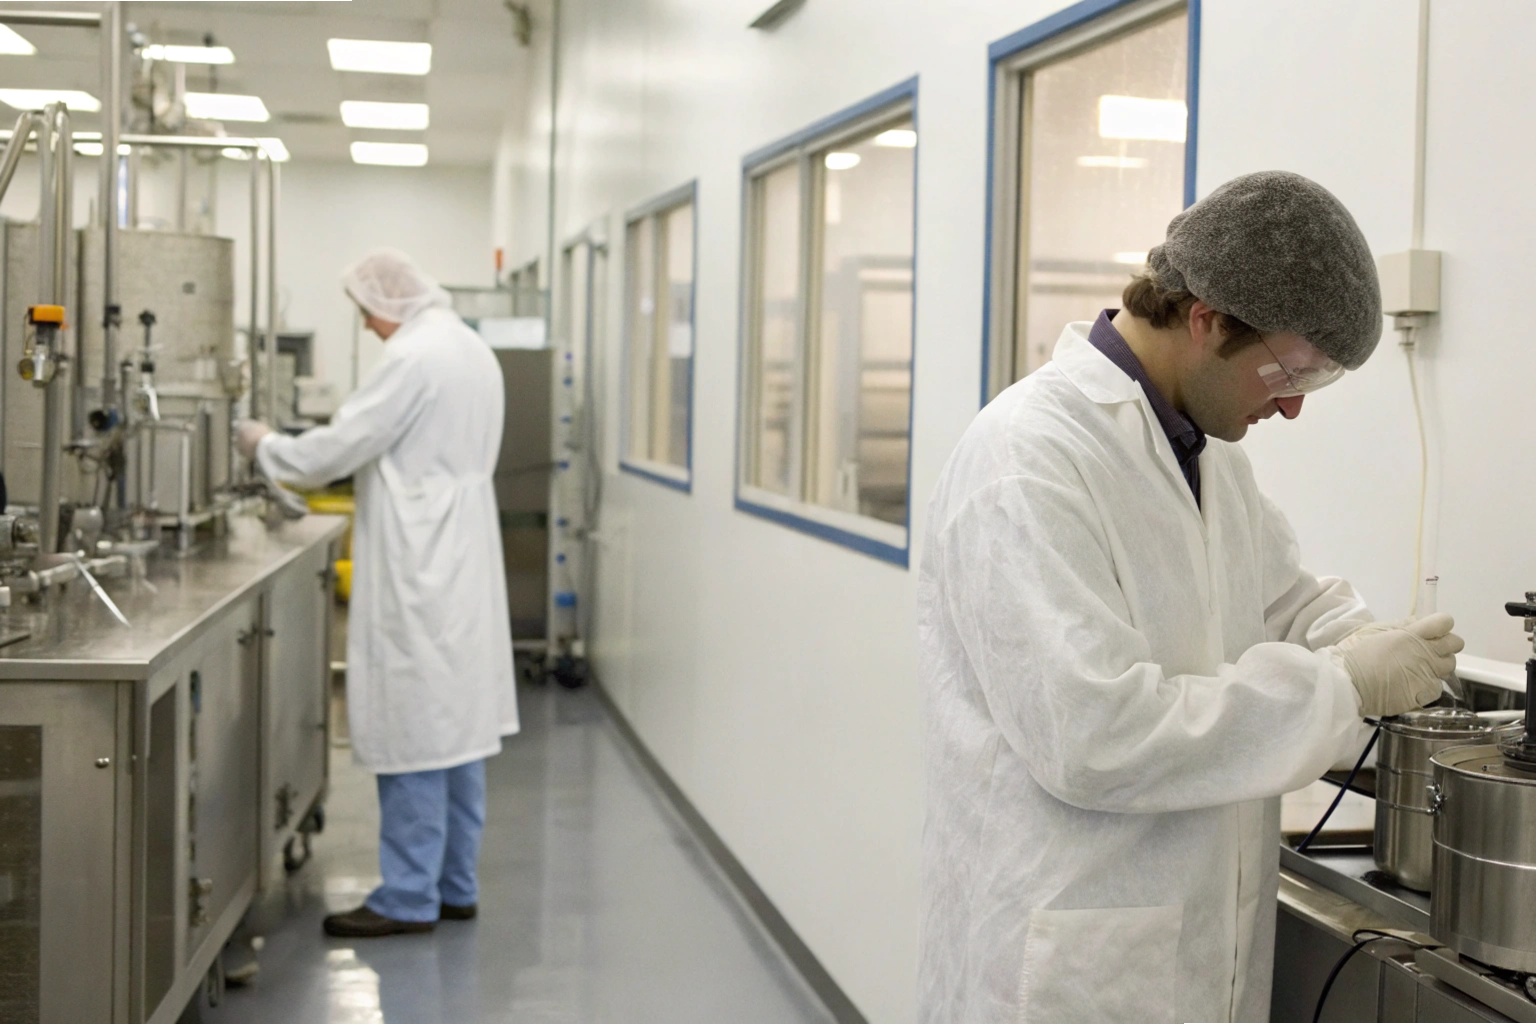
I’ve audited factories that claimed they had full testing labs, only to discover a dusty CMM no one could operate anymore.
Yes — many factories in Vietnam do have in-house testing labs, but the depth, accuracy, and certification of these labs vary widely.
That’s why I always verify lab equipment, calibration records and traceability practices 1, and whether results meet U.S. standards — never trust claims without proof.
Let me show you exactly what tests can be done in-house, what lab equipment matters, and how to validate testing capabilities when you source custom metal parts from Vietnam. For critical compliance, I often cross-check results with accredited third-party labs under the ILAC MRA 2.
What tests should be done in-house versus third-party?
More than once, I’ve seen buyers waste time and money on third-party tests that a factory could have done in-house — or worse, rely on in-house reports that didn’t meet U.S. requirements.
Basic dimensional, hardness, and coating thickness tests can be done in-house, while complex metallurgical, fatigue, and certification-grade tests should go to accredited third-party labs.

For corrosion validation, many surface shops can run ASTM B117 salt spray exposure 3 in-house; use certified labs when a customer or regulator requires formal certification.
Typical Test Responsibilities
| Test Type | In-House Capable | Third-Party Preferred | Notes |
|---|---|---|---|
| Dimensional (CMM, caliper, gauge) | ✅ | ❌ | Standard capability in most metal shops |
| Hardness (Rockwell, Brinell) | ✅ | ❌ | Basic lab requirement |
| Coating Thickness / Salt Spray | ✅ | ❌ / ✅ | ASTM B117 for corrosion where specified |
| Chemical Composition (OES/XRF) | ✅ / ⚠️ | ✅ | Factory capability varies; must verify scope |
| Tensile, Yield, Elongation | ⚠️ | ✅ | Only some have universal testing machines |
| Impact / Fatigue / Lifecycle | ❌ | ✅ | Specialized equipment, safety-critical |
| NDT (Ultrasonic, X-ray) | ⚠️ | ✅ | See ASNT methods for qualification |
| Metallographic / Microstructure | ❌ | ✅ | Rare in-house unless it’s a forging/casting lab |
| Certification / Regulatory Tests | ❌ | ✅ | Needs ISO 17025 or accredited lab reports |
My rule of thumb? Let the factory do day-to-day checks and sampling, but for contract compliance or critical specs — get a certified third party involved.
Which lab equipment matters for metal parts quality?
I’ve visited facilities with shiny showrooms full of measurement equipment — but once asked to measure a shaft, no one knew how to operate the gear.
The most important lab tools are the ones that are actively used, properly calibrated, and well-documented — not just on display.

Key Lab Equipment for Metal Parts
| Equipment | Purpose | Minimum Expectation |
|---|---|---|
| Coordinate Measuring Machine (CMM) 4 | Dimensional accuracy to ±0.01 mm or better | Must have calibration record, skilled operator |
| Hardness Tester (Rockwell/Brinell) per ASTM E18 5 | Material hardness verification | ASTM method, verified indenter and weights |
| Optical Emission / XRF Alloy Analysis Basics 6 | Alloy composition check | For confirming material grade before machining |
| Salt Spray Test Chamber (ASTM B117) 3 | Coating durability under corrosion | ASTM B117 compliance if relevant |
| Metallurgical Microscope | Weld bead structure, grain analysis | Rare but vital for high-spec components |
| Tensile/UTM Machine to ASTM E8 7 | Tensile strength, elongation, yield | Must be ASTM-compliant with graph outputs |
| Surface Roughness Tester | Ra and Rz values | Useful for CNC surface finish verification |
| Magnetic/X-ray Thickness Gauge | Coating or plating thickness | Must be calibrated with foil/standard blocks |
If your parts require weld quality validation, align factory methods to ASNT NDT practices (UT, RT, etc.) 8 and confirm operator qualification.
How to validate lab accreditation and calibration?
I once dealt with a supplier who claimed “ISO-calibrated machines,” but their caliper hadn’t been certified in 4 years — and yes, the parts were off spec.
Always check ISO/IEC 17025 accreditation, calibration certificates, and operator competence — otherwise, lab data is meaningless.

Validation Checklist
| Validation Area | What to Check | Why It Matters |
|---|---|---|
| ISO/IEC 17025 Certification | Scope, lab name, expiry, issuing body | Confirms technical competence and traceability |
| Calibration Records | Date, tool ID, certifying lab | Prevents measurements with outdated tools |
| Operator Skills | Training log, certifications | CMMs are useless without trained operators |
| SOP / Documentation | Test methods, data formats | Ensures test repeatability and traceability |
| Live Demo or Audit | Factory shows test in real time | Confirms that equipment is functional |
| Measurement System Analysis (Gauge R&R) 9 | Cp, Cpk, Gauge R&R reports | Proves test data is statistically reliable |
What reports document in-house lab testing?
Once I had a supplier hand me a “test report” — it was a handwritten note with three numbers and no units.
A valid in-house lab report should be formatted, signed, reference standards, and show actual measured values with pass/fail judgments.

When a customer requires conformity evidence beyond factory checks, I request reports from ISO/IEC 17025–accredited laboratories 10 to satisfy auditor and regulatory expectations.
Conclusion
In-house testing labs in Vietnam can meet U.S. standards — but only if you verify their equipment, calibration, and operator competence. Never trust the label “quality lab” without proof.
Footnotes
1. NIST guidance on measurement traceability and calibration records. ↩︎
2. Find accredited labs recognized under the ILAC Mutual Recognition Arrangement. ↩︎
3. ASTM B117 standard practice for salt spray (fog) testing. ↩︎
4. NIST resources for managing and verifying CMM measurement systems. ↩︎
5. ASTM E18 procedures for Rockwell hardness testing of metallic materials. ↩︎
6. When to use XRF vs OES for alloy identification and chemistry checks. ↩︎
7. ASTM E8 tensile testing requirements for metallic materials. ↩︎
8. ASNT certification and standards for common NDT methods. ↩︎
9. ASQ overview of Gauge R&R and MSA best practices. ↩︎
10. ISO/IEC 17025 standard for competent testing and calibration laboratories. ↩︎


