At our facilities, we often see projects stall because initial specifications lacked clarity 3D CAD models in STEP 1. Misunderstandings with local teams regarding technical requirements can quickly escalate into costly production delays and quality disputes.
To clearly describe specifications to Vietnamese suppliers, provide 3D STEP files alongside 2D PDF drawings highlighting critical tolerances. Explicitly define resin grades, Pantone colors, and acceptable regrind percentages. Mandate specific surface finishes using SPI standards and detail post-production quality metrics like leak testing to ensure precise alignment with local manufacturing capabilities.
Let's break down the specific specific surface finishes 2 documents and technical details you need to prepare for a successful RFQ.
What technical documents and CAD files do I need to send to Vietnamese blow molding factories?
We frequently receive incomplete data packages that slow down our engineering review process significantly ISO 2768-c (coarse) 3. Without the right combination of files, accurate quoting and mold design become nearly impossible.
You must send both 3D CAD models in STEP or IGES formats for mold design and annotated 2D PDF drawings for tolerance verification. The 2D drawings should explicitly flag critical dimensions, assembly points, and surface finish requirements, ensuring the factory understands exactly which features require strict process control.

The Necessity of Dual File Formats
In our daily operations managing supply chains across Asia, we see a recurring issue where buyers assume a single 3D file is sufficient Pantone codes 4. It is not. While Vietnamese suppliers have modernized significantly, the distinction between a "manufacturing model" and a "quality contract" remains vital.
The 3D CAD file (STEP or IGES) is the blueprint for the mold cavity. It tells the CNC machines exactly how to cut the steel. Without this, the supplier cannot calculate the volume of material, the cycle time, or the cooling requirements. However, a 3D file is mathematically perfect; it does not tell the supplier how much error is allowed.
The 2D Technical Drawing (PDF) acts as your legal contract for quality. This is where you must identify "Critical to Quality" (CTQ) dimensions. For example, the neck finish of a bottle or the mounting points of an automotive duct need tighter control than the general body. If you do not specify this on a 2D drawing, the factory will apply general tolerances to the entire part, which often leads to fitment issues later.
Overcoming Software Compatibility
While major factories in Vietnam use SolidWorks or NX, smaller workshops might use older software versions melt flow index values 5. We always recommend exporting files in universal formats to avoid version conflicts. Proprietary files (like .sldprt) often fail to open if the supplier is running a version just one year older than yours.
Document Checklist for RFQ
To ensure our partners in Vietnam can quote accurately without going back and forth, we require a complete technical package. The table below outlines exactly what you should include and why.
| Document Type | Recommended Format | Purpose | Critical Notes |
|---|---|---|---|
| 3D Model | STEP (.stp) or IGES (.igs) | Mold design, volume calculation, clash detection. | Ensure the geometry is watertight (no gaps). |
| 2D Drawing | Tolerance definition, surface finish, material specs. | Highlight critical dimensions (CTQs) clearly. | |
| Bill of Materials (BOM) | Excel / PDF | List of sub-components (caps, inserts, labels). | Include part numbers for any purchased components. |
| Visual Standards | PDF / Photos | Define cosmetic expectations (flash, color). | Photos of "good" vs. "bad" samples are highly effective. |
By providing this complete package upfront, you remove ambiguity. We have found that suppliers are more likely to provide a competitive price when they fully understand the scope, as they do not need to add "risk buffers" to their cost estimates.
How should I specify material grades and wall thickness requirements in my RFQ?
Our sourcing team often finds that vague material requests lead to inconsistent product durability and performance. Specifying exact parameters is crucial for maintaining structural integrity across production batches.
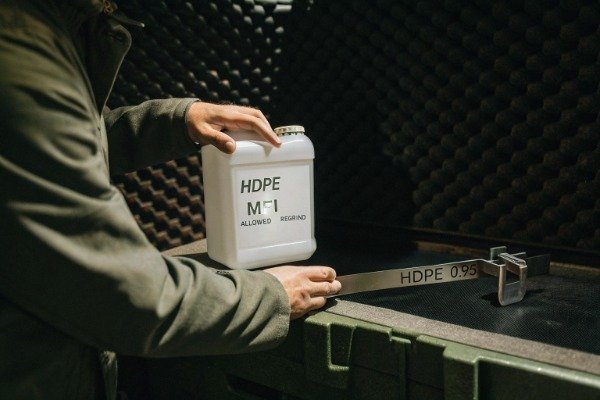
Specify the exact resin type and grade, such as HDPE or PP, including density and melt flow index values. Define wall thickness requirements clearly on drawings, noting minimum acceptable thickness at corners and pinch-off areas to prevent structural failures during the blow molding expansion process.

Defining Resin Properties
Simply saying "HDPE" is rarely enough. In Vietnam, as in many manufacturing hubs, there are dozens of grades of High-Density Polyethylene, ranging from premium virgin material to lower-grade recycled options. If you do not specify the grade, a supplier might choose the cheapest option to win the bid, which could result in parts that crack under stress.
We recommend specifying the material by its generic properties if you cannot dictate a specific brand. However, if your product requires FDA compliance or UV resistance, you must list specific additives. UV resistance 6 For instance, if you are producing outdoor equipment, failing to specify a UV stabilizer will cause the parts to degrade rapidly in the sun.
You must also address regrind (recycled scrap material). It is standard industry practice to mix a small percentage of regrind back into the production line. However, if this ratio is too high, the mechanical properties drop. We typically set a limit of 15% to 20% regrind for non-critical parts, but for high-stress parts, we may specify 100% virgin material.
Managing Wall Thickness Distribution
Blow molding involves stretching a hot tube of plastic (parison) into a mold. This process naturally results in uneven wall thickness—corners are thinner, and flat areas are thicker. A common mistake we see is drawings that demand a uniform wall thickness everywhere. This is physically impossible in standard blow molding.
Instead, you should specify a minimum wall thickness at the critical points. This allows the supplier to program their parison controller to ensure those weak points meet your standard, even if other areas end up slightly thicker.
Material Specification Guide
When drafting your RFQ, use the following parameters to lock in your material quality.
| Parameter | Why it Matters | Example Specification |
|---|---|---|
| Resin Type | Determines basic chemical and physical resistance. | HDPE (High-Density Polyethylene) |
| Melt Flow Index (MFI) | Affects how the plastic flows; critical for process control. | 0.3 – 0.7 g/10min |
| Density | Impacts stiffness and impact resistance. | 0.950 – 0.960 g/cm³ |
| Regrind Allowance | Prevents degradation of material properties. | Max 20% clean regrind allowed |
| Additives | Necessary for specific environments (Sun, Food, Static). | UV Stabilizer (2%), FDA Compliant |
By being specific here, you prevent the factory from swapping in a "local equivalent" that might process well but fail in the field. We always verify the material data sheet (MDS) against the actual raw material bags on the factory floor during our audits.
What is the best way to define acceptable tolerances and quality standards for blow molded parts?
We know that interpreting "good quality" varies significantly across different manufacturing cultures and regions. Establishing objective, numerical standards prevents subjective disputes and ensures the product meets your market's expectations.
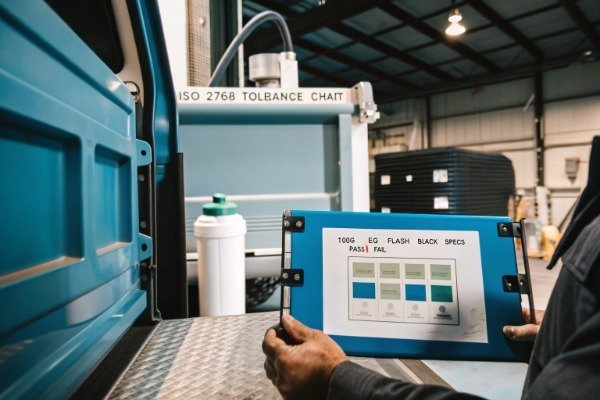
Define tolerances using ISO 2768 standards rather than US customary units to match local tooling practices. Establish clear quality standards by setting acceptable limits for flash trimming, weight variation, and drop test performance, ensuring the supplier understands the pass/fail criteria before production begins.

Standardizing Tolerance Expectations
One of the biggest friction points we manage is the disconnect between US design standards and Vietnamese manufacturing realities. US drawings often use decimal inches with tight block tolerances. However, Vietnamese factories operate almost exclusively in metric units and follow ISO standards.
For blow molding, tolerances are naturally looser than injection molding because the material shrinks and warps more during cooling. We strongly advise using ISO 2768-c (coarse) or ISO 2768-v (very coarse) for general dimensions. If you demand precision tolerances (e.g., ±0.05mm) on a blow-molded part, you will likely face high rejection rates and increased costs.
You should identify which dimensions are critical critical tolerances 7 for fitment (e.g., the thread of a bottle or the mounting holes of a tank) and apply tighter tolerances only to those areas. For the rest of the body, allow the material to behave naturally.
Establishing Quality Control Metrics
Quality is not just about dimensions; it is about performance. A part can be dimensionally correct but still leak or break. We implement functional testing protocols that the supplier must perform.
- Leak Testing: For containers, specify a pressure decay test or a water submersion test.
- Drop Testing: Define the height and the orientation of the drop. For example, "Filled bottle dropped from 1.2 meters onto concrete, bottom-down."
- Weight Control: The weight of the part indicates how much material is being used. Set a target weight with a tolerance (e.g., 100g ±5g). If the weight drops below the limit, the walls are likely too thin.
Common Defect Acceptance Criteria
To avoid arguments about "visual defects," we use a defect table in the contract. This tells the QC team exactly what to reject.
| Defect Type | Description | Acceptance Criteria |
|---|---|---|
| Flash | Excess plastic at the parting line. | Max 0.5mm height; must be trimmed smooth. |
| Short Shot | Incomplete filling of the mold. | Not Allowed (Critical Defect) |
| Black Specs | Burnt material or contamination. | Max 3 specs < 0.5mm per surface area. |
| Die Lines | Vertical lines from the extrusion die. | Acceptable if not felt by fingernail. |
| Warpage | Distortion of the part shape. | Max 1.5mm deviation from flat surface. |
By defining these upfront, we empower the factory's own QC team to filter out bad parts before they ever reach the shipping container.
How do I communicate mold specifications and surface finish details to avoid production errors?
In our experience, surface finish is the most common point of contention during final inspection and approval. Visual expectations must be quantified numerically to ensure the final product matches the design intent.
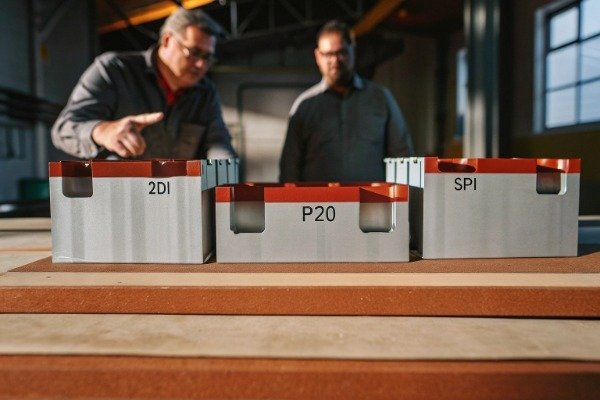
Communicate mold specifications by defining the number of cavities based on annual volume and specifying mold steel quality. For surface finishes, use standardized VDI or SPI scales instead of descriptive terms, and provide physical samples or Pantone codes to ensure exact texture and color reproduction.

Mold Cavitation and Steel Selection
The mold is the heart of the process. When we source tooling, we match the mold specifications to the client's lifecycle needs. If you only need 5,000 parts a year, a single-cavity aluminum mold might suffice. However, for 100,000 parts, you need a multi-cavity mold made from hardened steel (like P20 or S136).
You must explicitly state your Estimated Annual Usage (EAU). This allows the supplier to calculate the optimal number of cavities. If you don't, they might quote a cheap single-cavity mold to get your business, which will result in slow production speeds and higher unit costs later.
Specifying Surface Texture and Color
Terms like "smooth," "matte," or "glossy" are dangerous because they are subjective. A "matte" finish to a supplier might look like a rough sandpaper texture to you.
We insist on using industry standards:
- SPI Standards: Used for polished finishes (e.g., SPI A-2 for high polish).
- VDI 3400: Used for textured finishes (e.g., VDI 24 for a light spark erosion texture).
- Mold-Tech: Used for specific patterns (e.g., leather grain), though this requires buying licensed plaques.
For color, digital screens are unreliable. We always require Pantone (PMS) or RAL codes. Furthermore, because plastic resin affects color perception, we require a physical sample chip for approval before the full production run begins.
Pinch-Off and Parting Line Design
In blow molding, the "pinch-off" is where the mold closes on the parison (usually at the bottom and handle). This leaves a visible line. You need to specify how this should be finished.
- Standard: A small ridge remains.
- Desplashed: The excess is trimmed, but a witness line is visible.
- Heavy Duty: The pinch-off is thickened for strength (common in automotive).
If aesthetic appearance is critical, you must specify that the pinch-off needs to be trimmed flush or hidden in a non-visible area. We often review the mold design to ensure the parting line does not run across a critical text or logo area.
Conclusion
Clear specifications are the foundation of successful sourcing in Vietnam. By providing precise CAD files, defining material grades, standardizing tolerances, and quantifying surface finishes, you eliminate ambiguity. This proactive approach reduces lead times and ensures the final product meets your quality standards.
Footnotes
1. STEP files are a common format for 3D CAD models, as described on this Wikipedia page. ↩︎
2. This article discusses the importance of specifying surface finishes when sourcing parts. ↩︎
3. This ISO standard defines general tolerances for linear and angular dimensions. ↩︎
4. Pantone codes are a standardized color matching system, as described on Wikipedia. ↩︎
5. This page describes melt flow index and its importance in material selection. ↩︎
6. This Wikipedia page describes UV degradation and the importance of UV stabilizers. ↩︎
7. ISO standards are important for specifying tolerances. This page describes ISO 2768, mentioned later in the article. ↩︎


